Because every DIY I've seen are for manual cars without the stupid fan in the way. This DIY is for the rest of us who own automatic cars. Also for everyone that is in need of possibly pulling out their
water pump since removing the fan clutch nut is the exactly what you will have to do on all cars (whether manual or automatic) to get the water pump out.
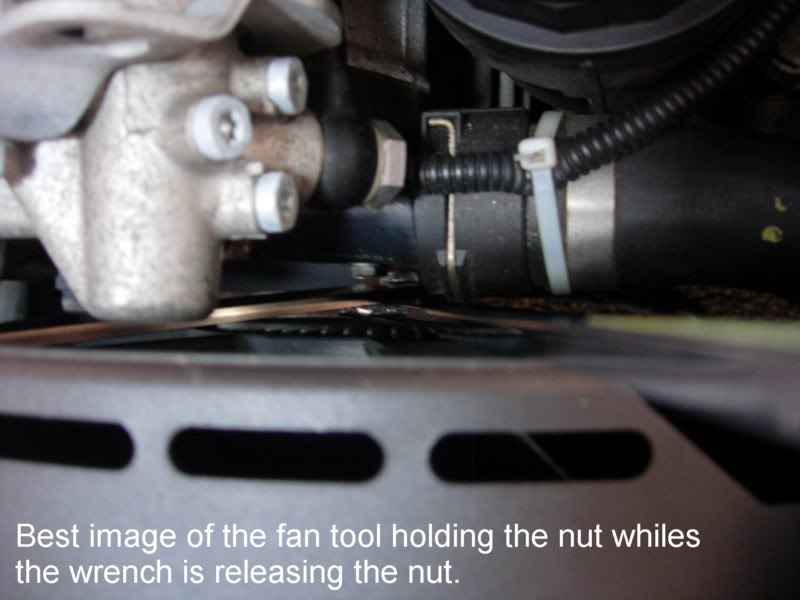
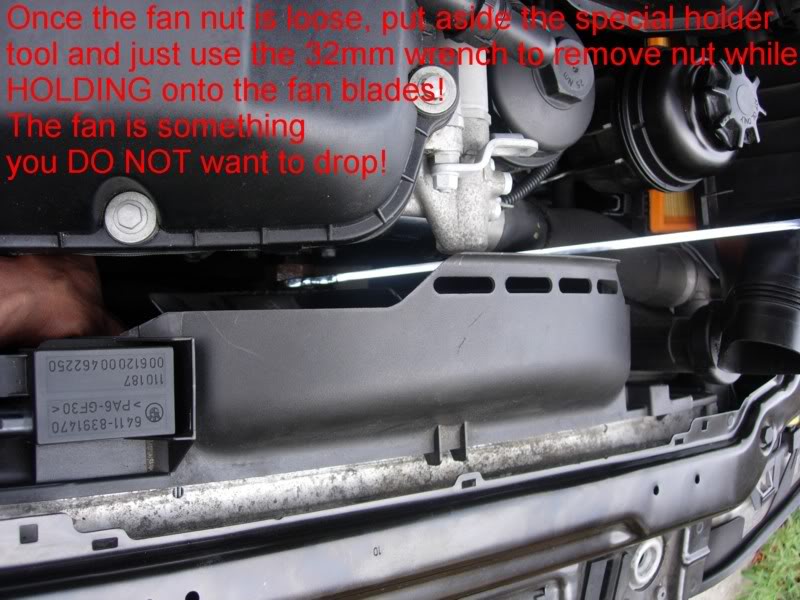
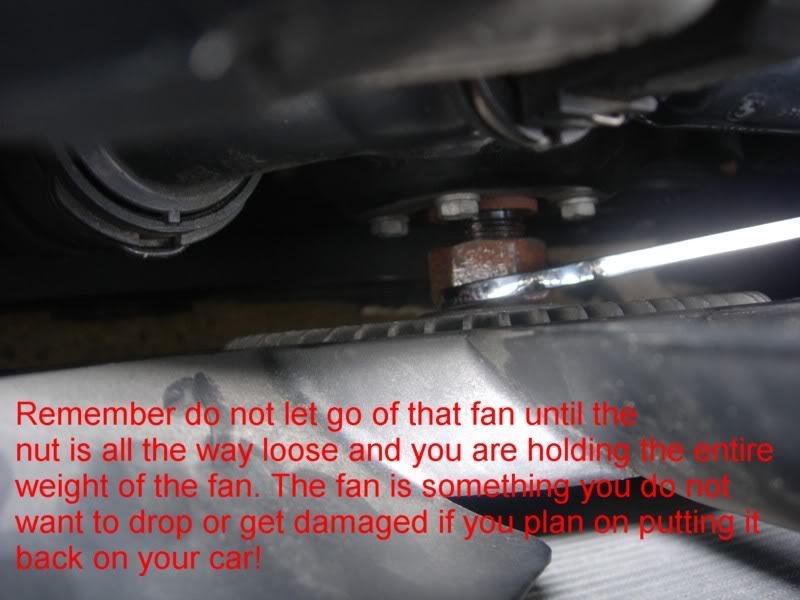
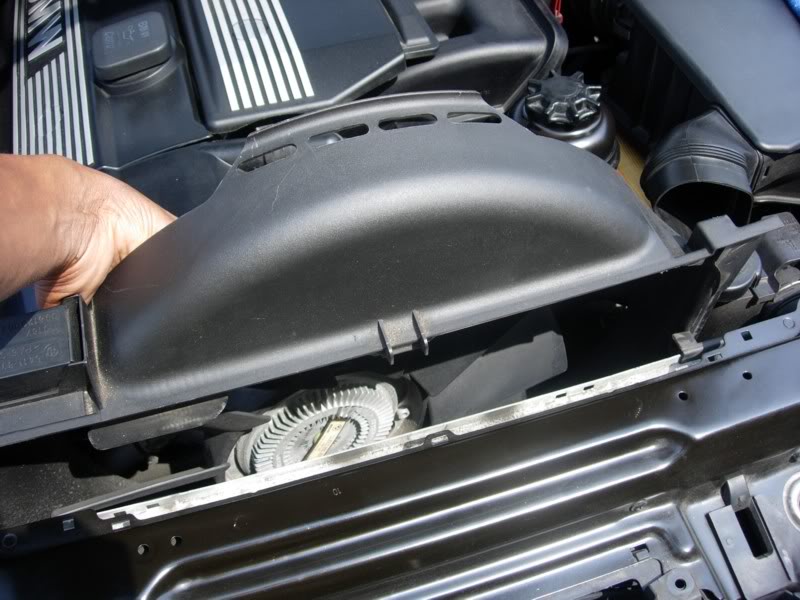
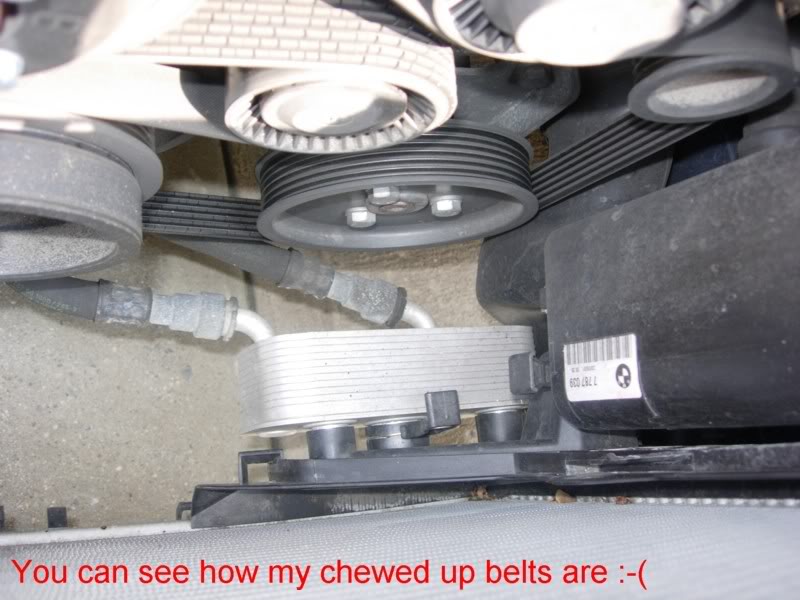
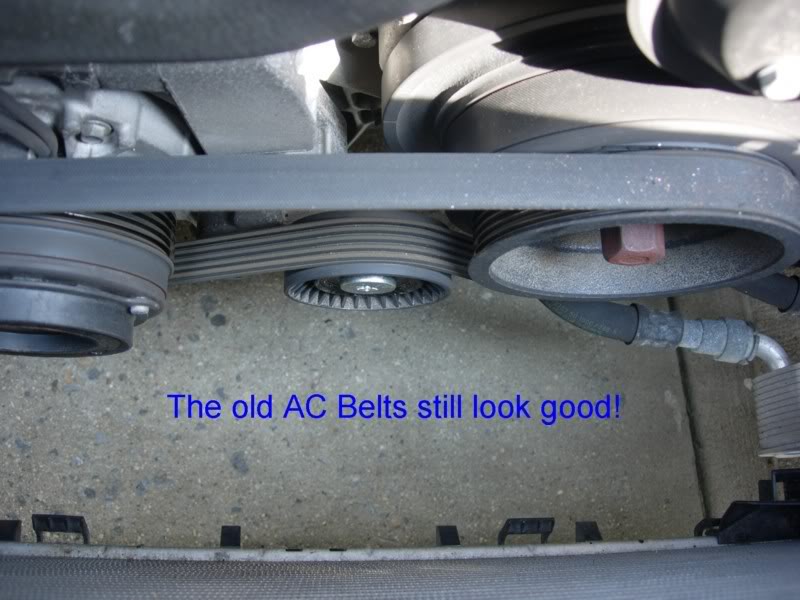
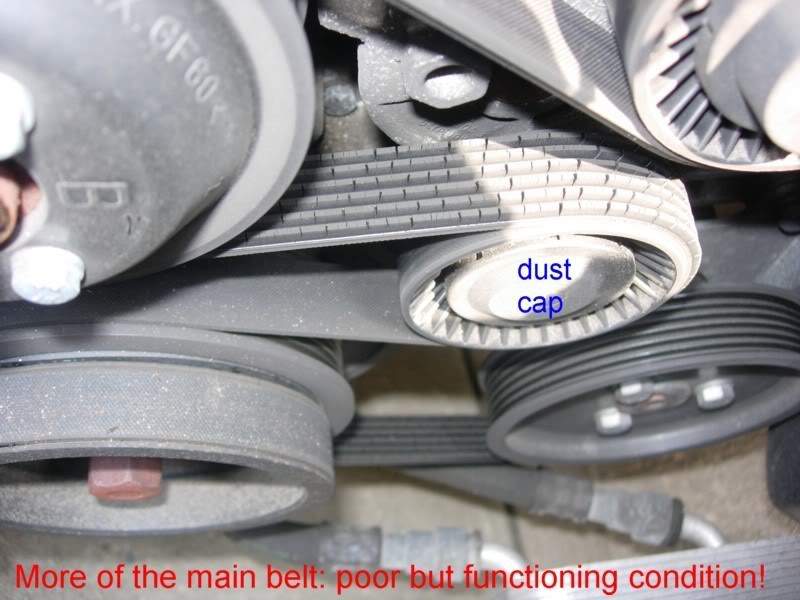
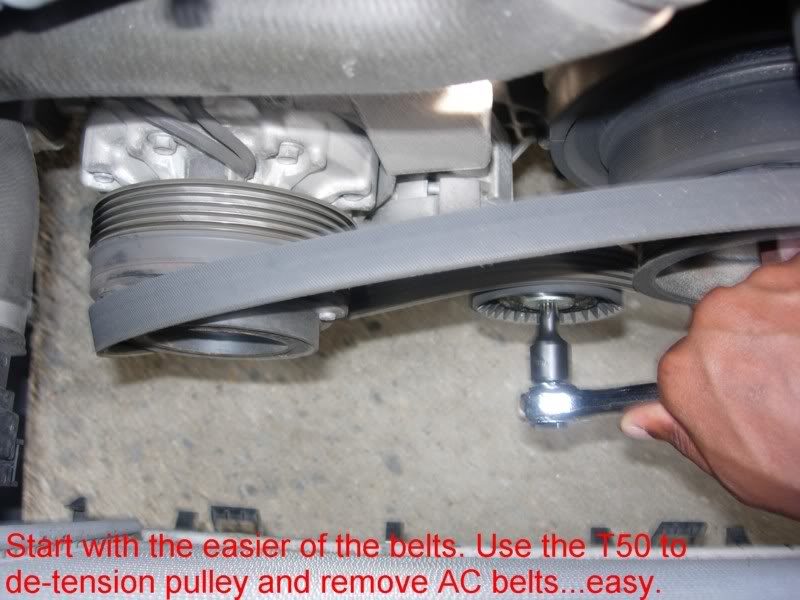
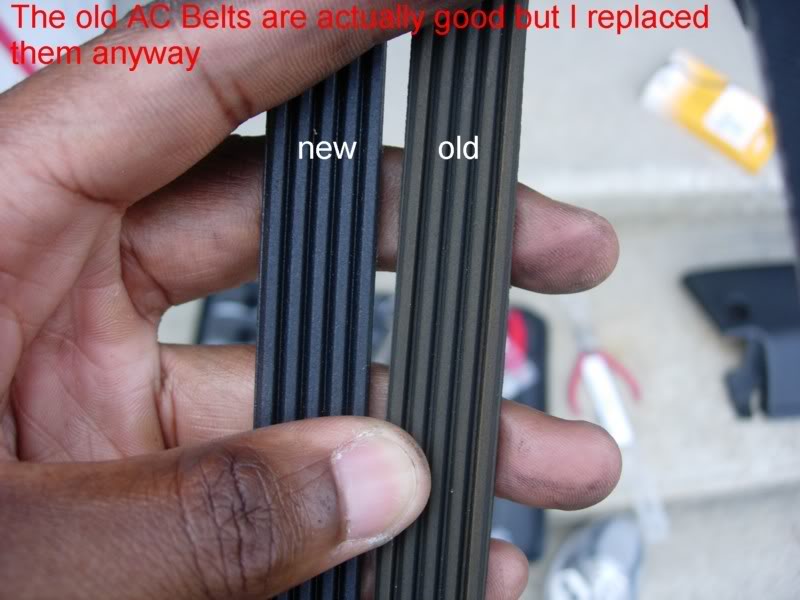
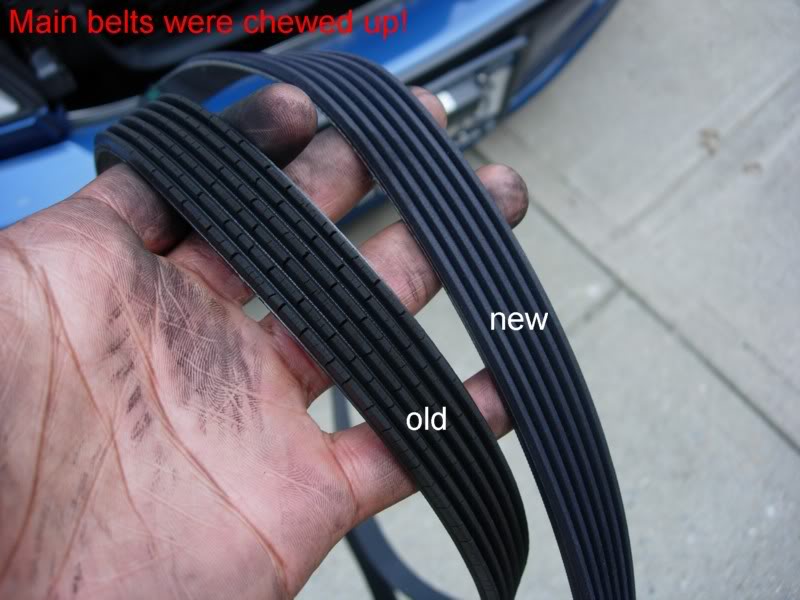
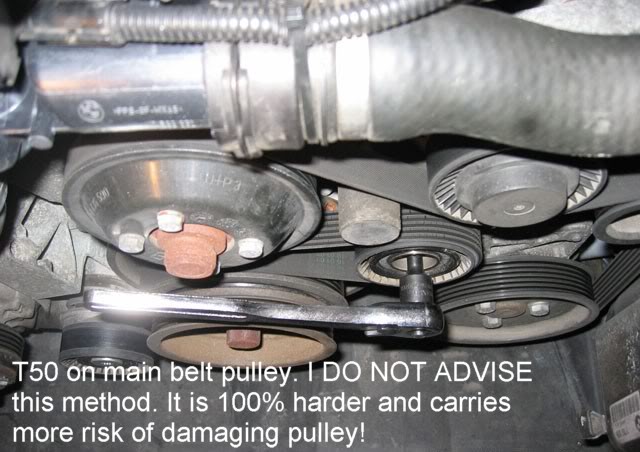
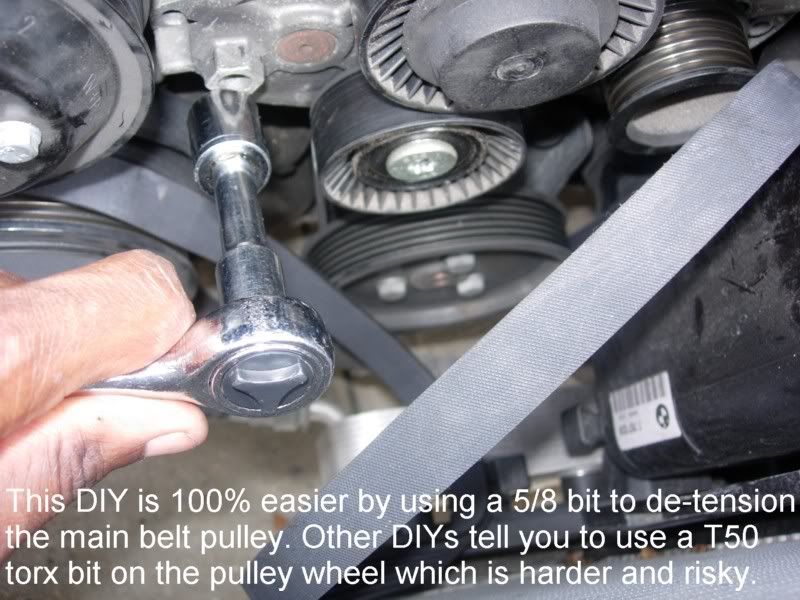
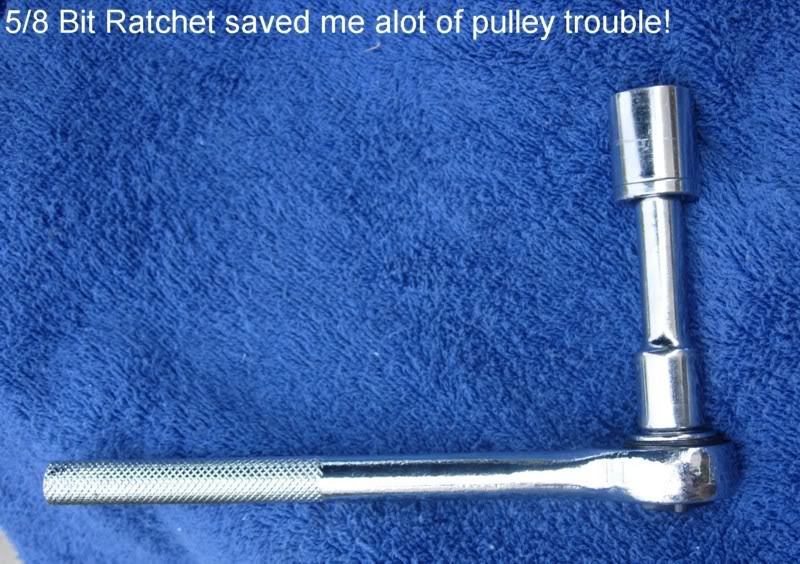
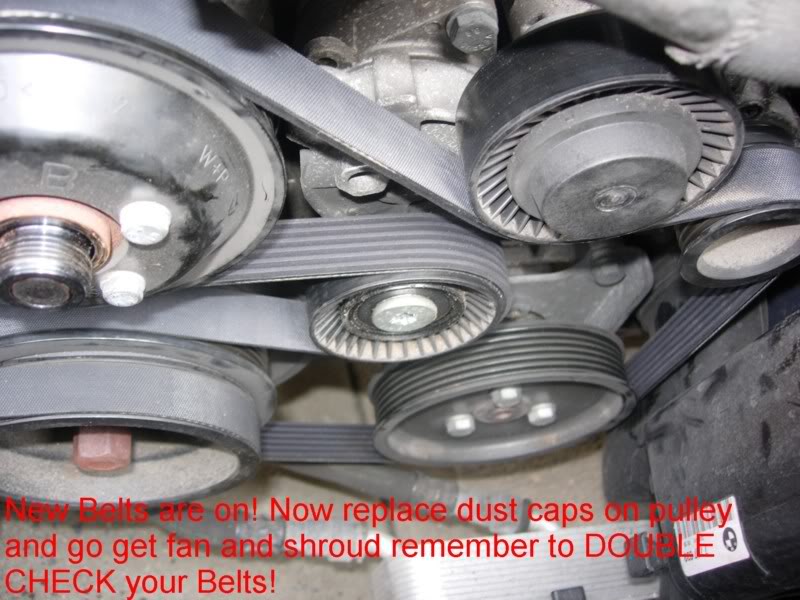
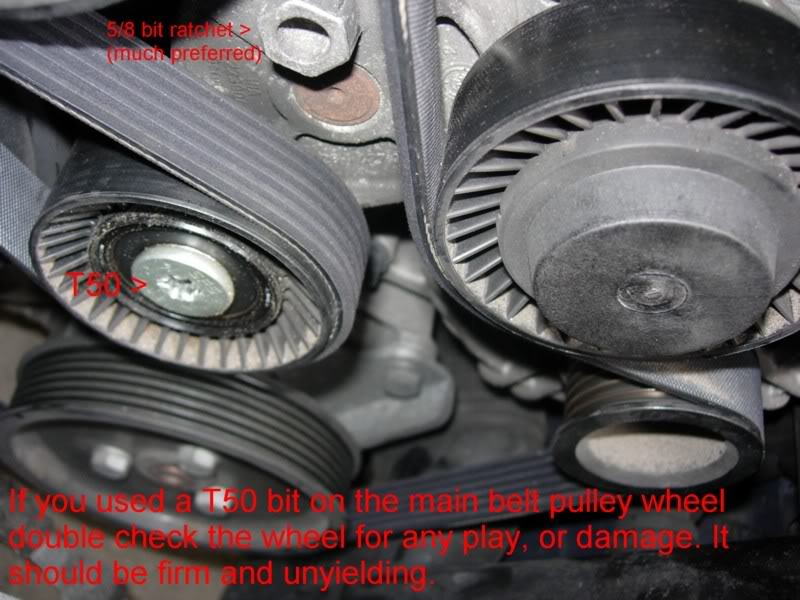
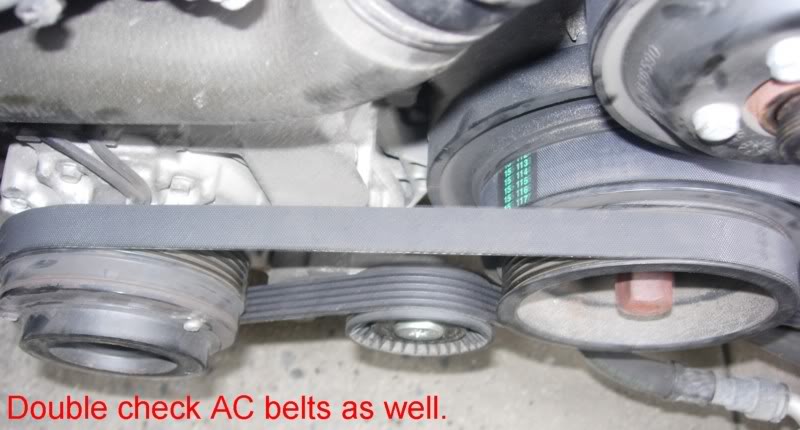
The belts DIY is easy in itself. The large pictures and crayola text within each picture below should give anyone with a brain the basic idea of what to do. I've changed belts on older BMW cars before without having to bother with the fan (like on the M44 engine) so the fan removal part of the M54 DIY was always a mystery to me and many with automatic E46 cars. Many of us followed all those website and forum DIYs, that was using manual cars for their DIY projects, up until we realized there was a big a$$ fan in there for our cars and couldn't go any further.
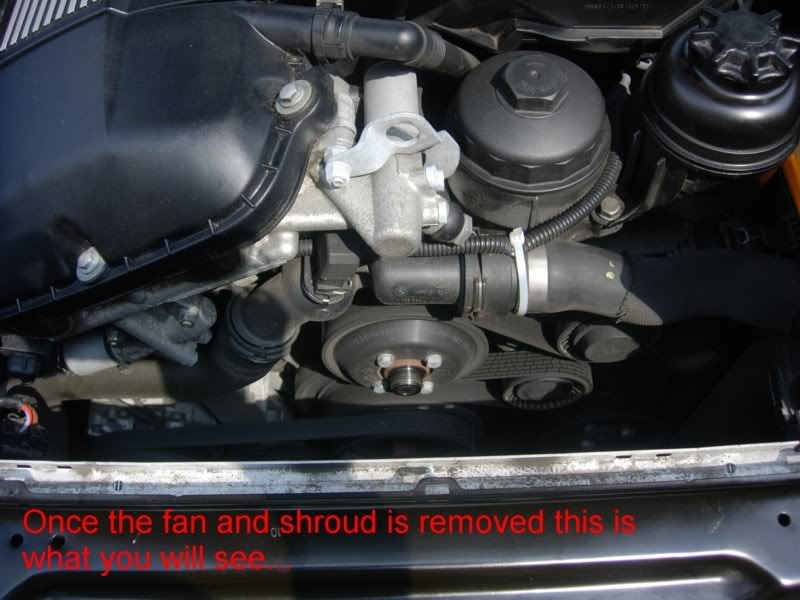
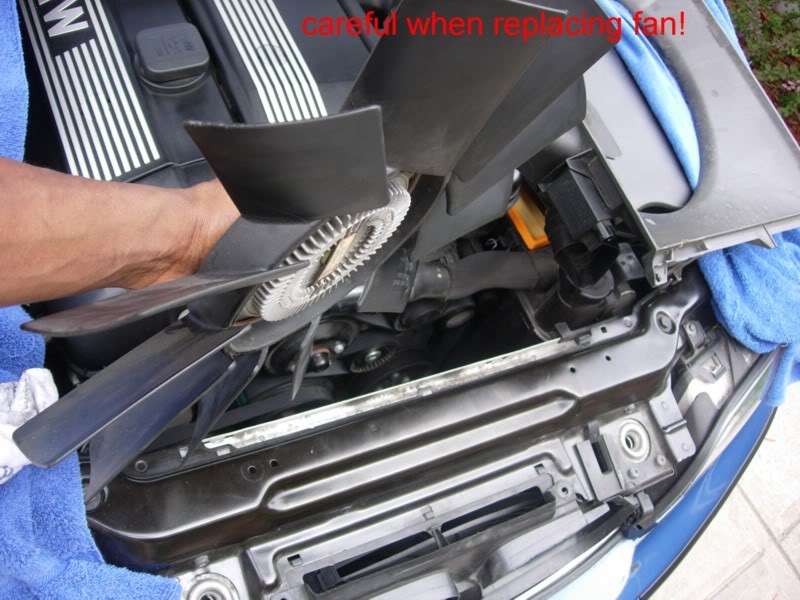
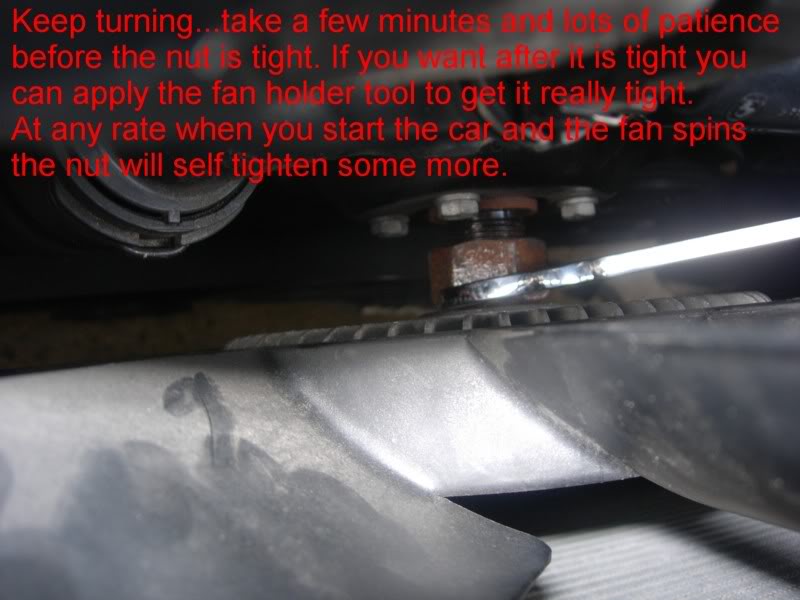
This DIY shows you how to safely remove the fan, belts, look at the inevitable water pump/thermostat failure regions and put everything back in.
My DIYs do not end in the middle, like most DIYs, and leave you stranded

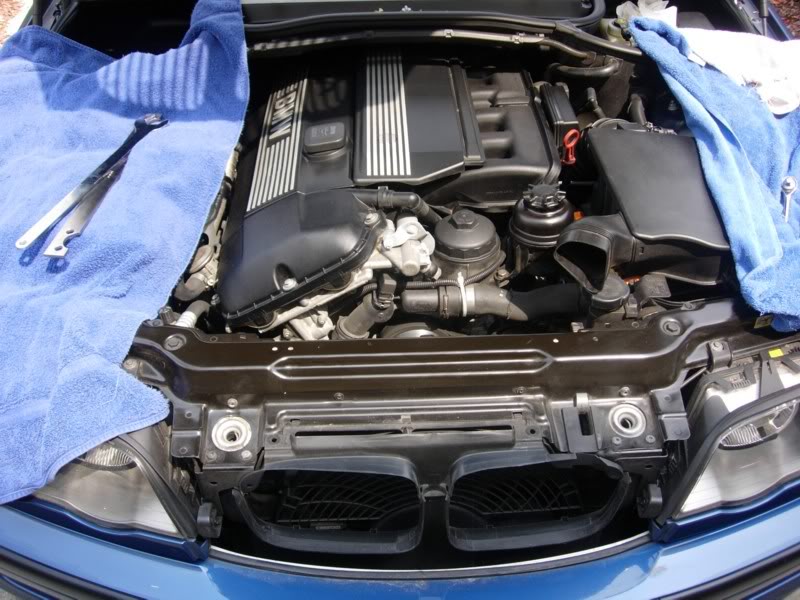
. I show you how to double check what you did and safely put everything back in there.
WATER PUMP and THERMOSTAT DIY QUICK INFO:
Only read this bit if you are interested in these tasks.
Said and done, if you can do this DIY then the water pump/thermostat DIYs will be not much more difficult, if not as easy. With the fan clutch out and shroud out and coolant drained, all that is left is removal of the bolts and bits that hold the water pump and thermostat in place. These are right there in front of you.
My car only has 49k on the clock, as of this writing, but it is still a 7-8 year old car so I plan of changing my plastic OEM pump and thermostat housing for the metal high performance water pump and an aluminum body thermostat housing over the next couple of months just to be safe.
HERE IS THE BMW M54 E46 Automatic Fan Clutch & Engine Belts DIY:
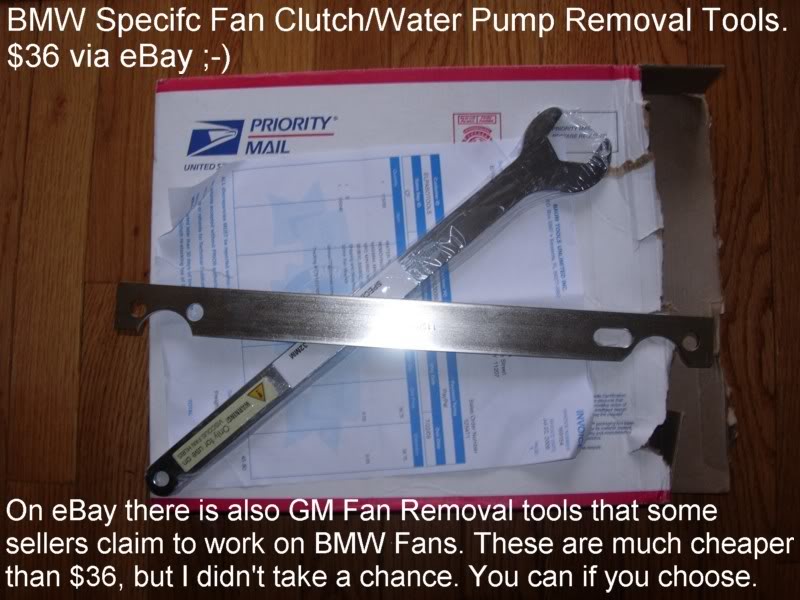
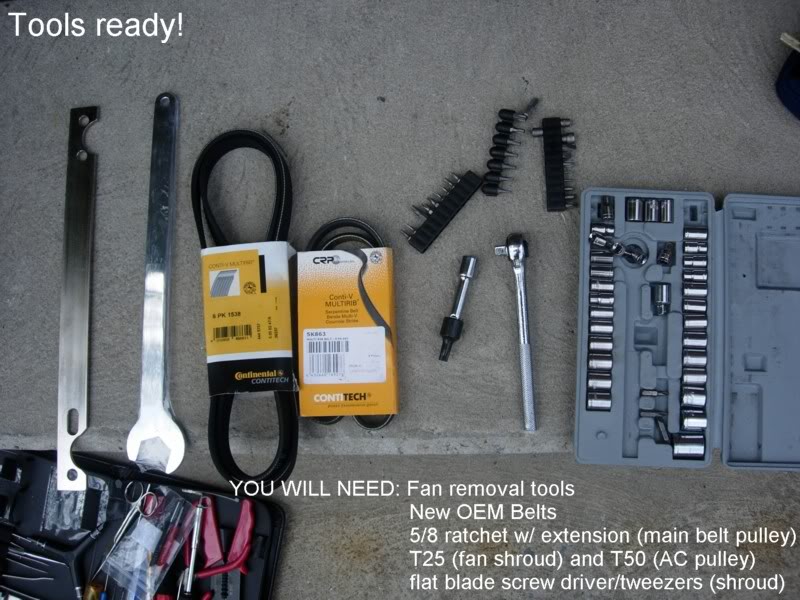
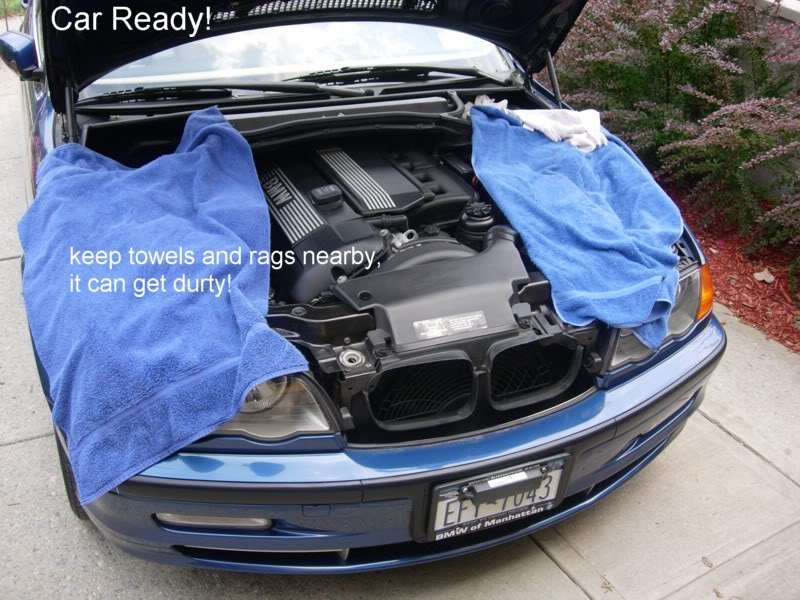
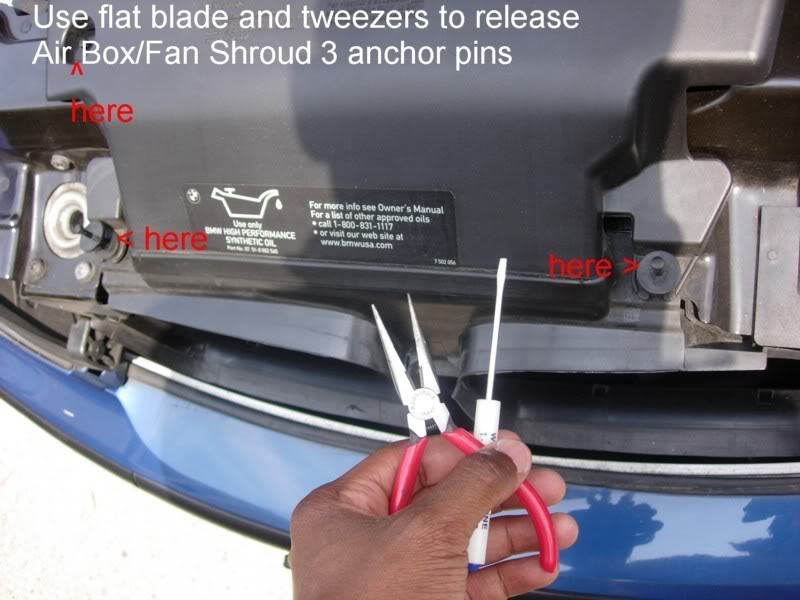
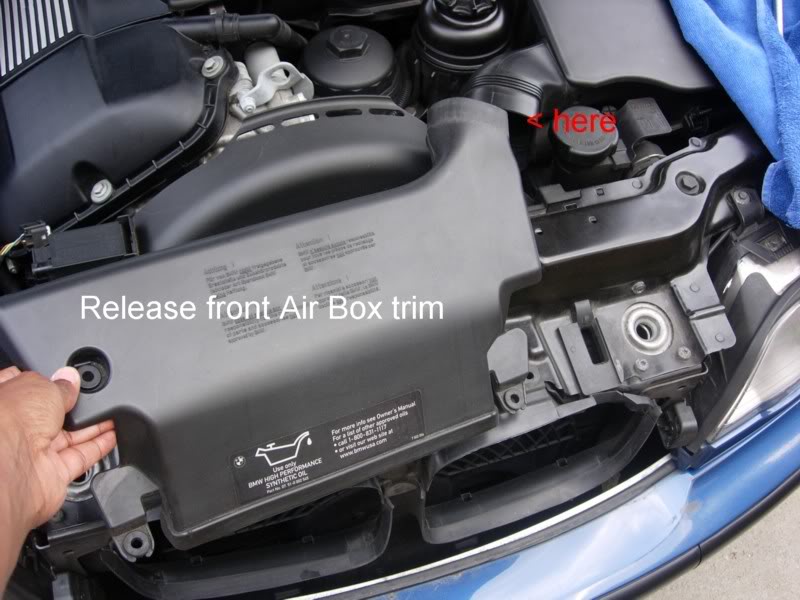
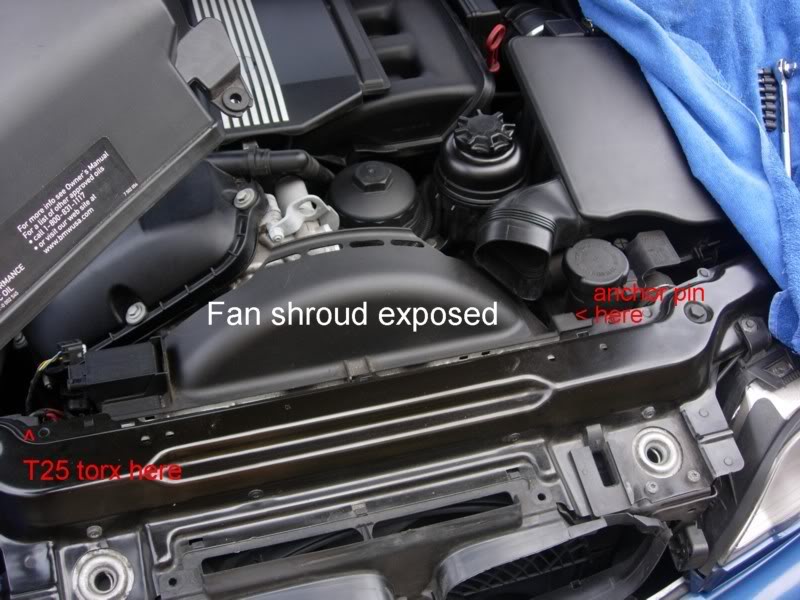
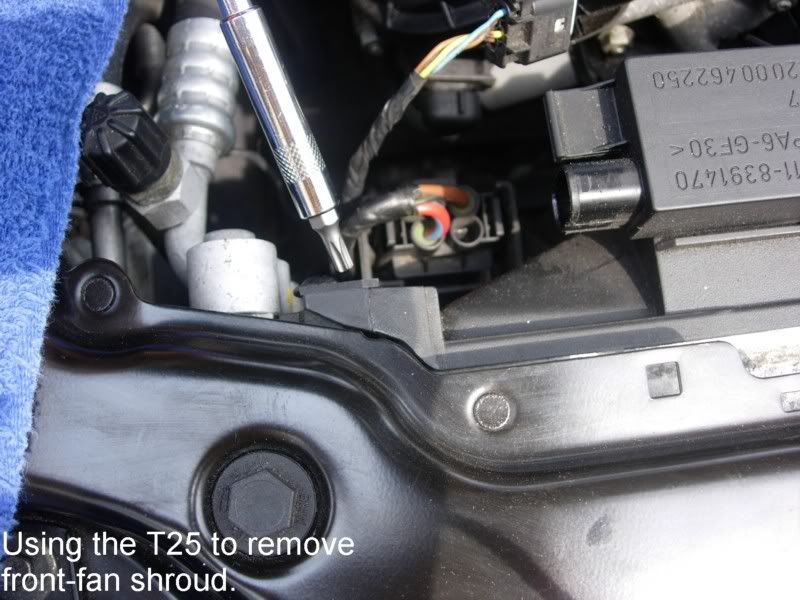
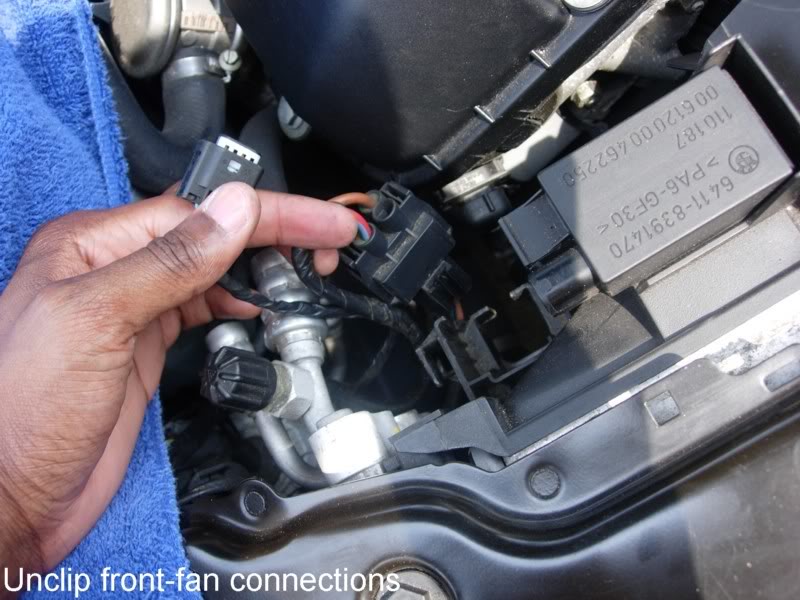
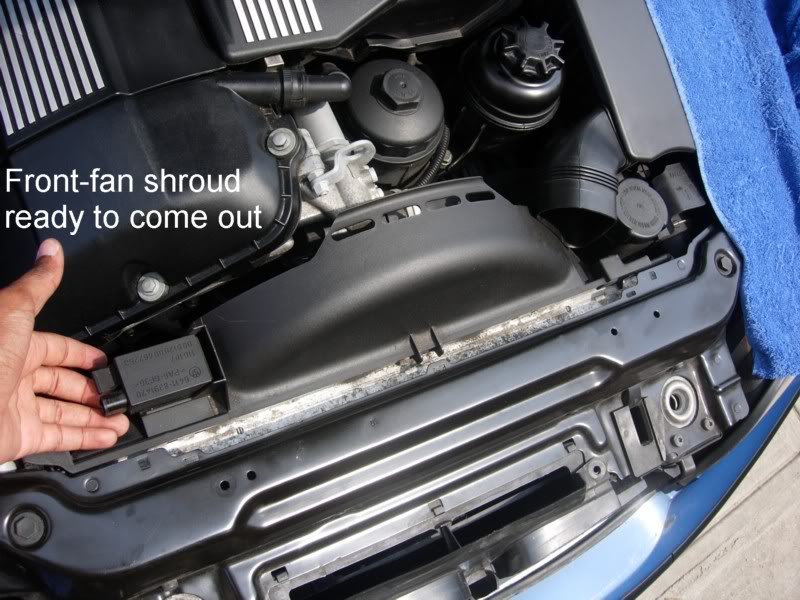
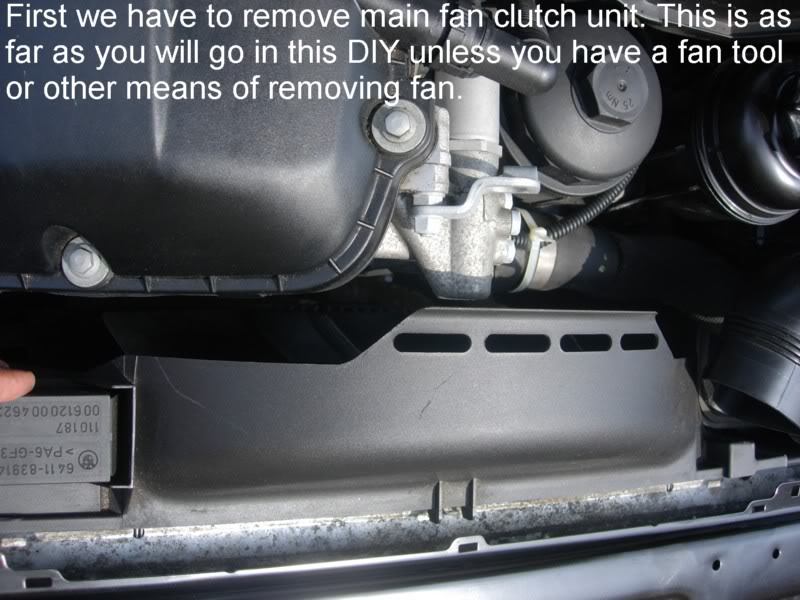
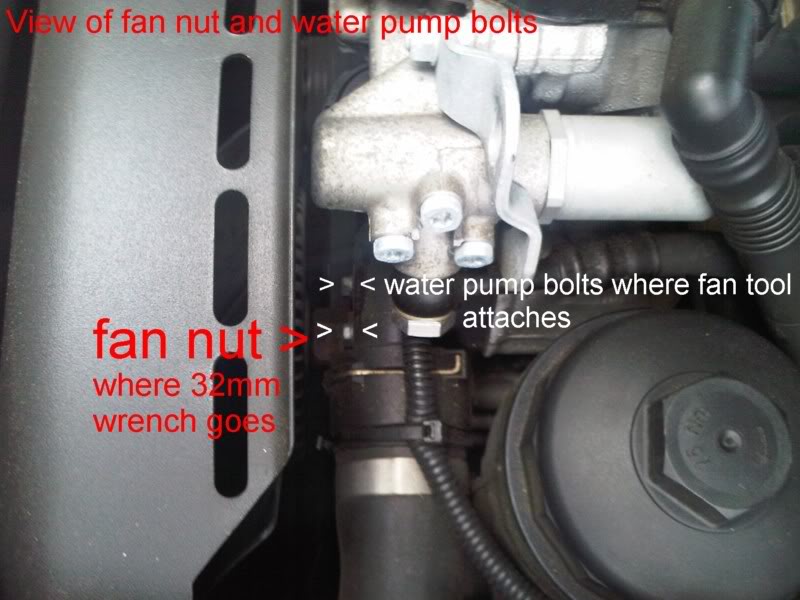
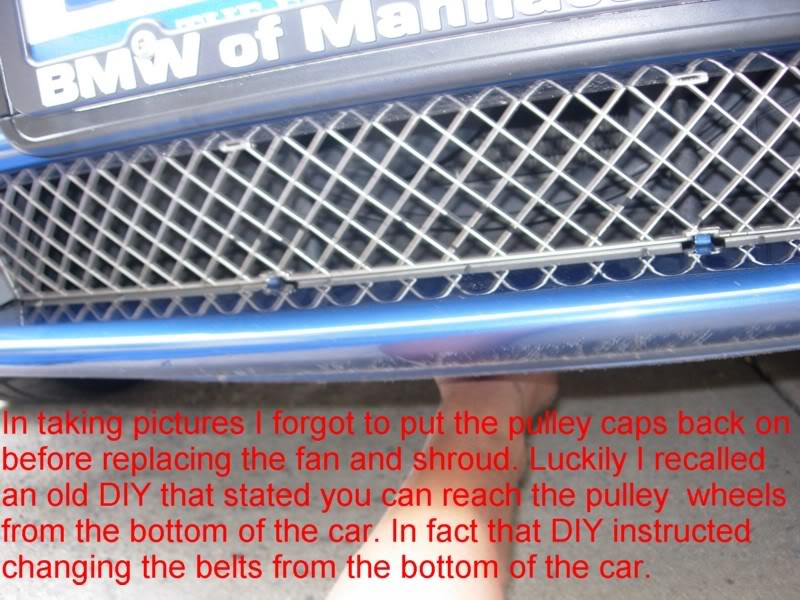
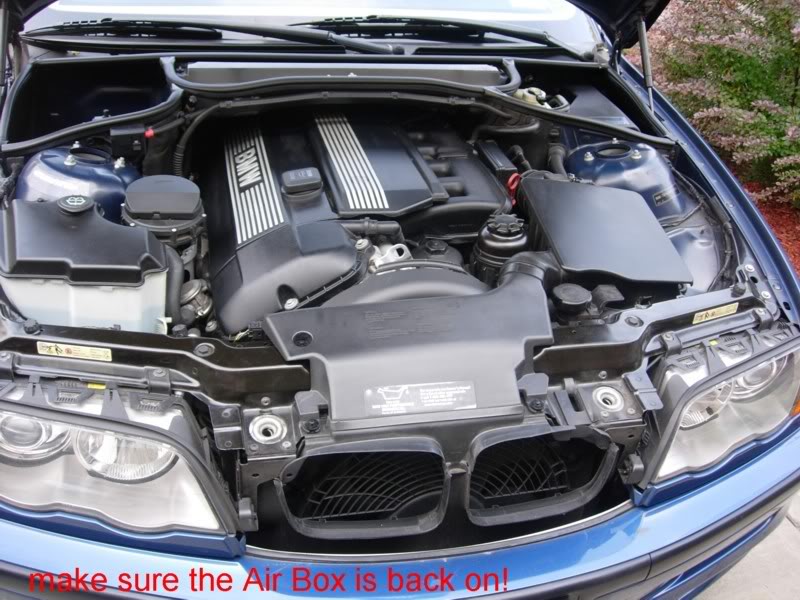
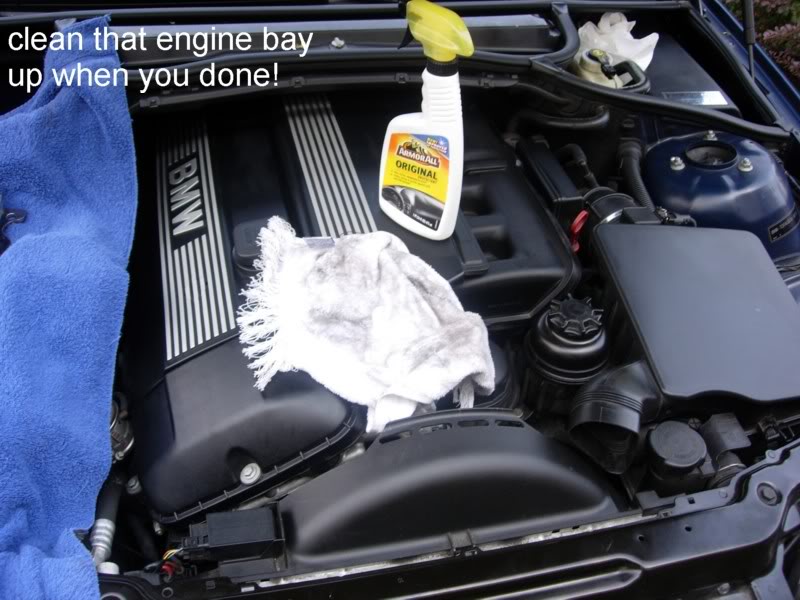
After you are done and double checked everything (including those front-fan shroud/radiator connector plugs) get yourself cleaned up and go start your car leaving the hood up and the windows down. Keep your hand on the key in case you have to shut off the engine immediately.
If the engine starts up okay and everything sounds and feel normal (no squealing or fierce vibrations) after a minute or two go look under the hood. The fan and belts should be moving okay. My fan seemed wobbly for the first couple of minutes but after it was okay-leaving me thinking it was just my imagination.
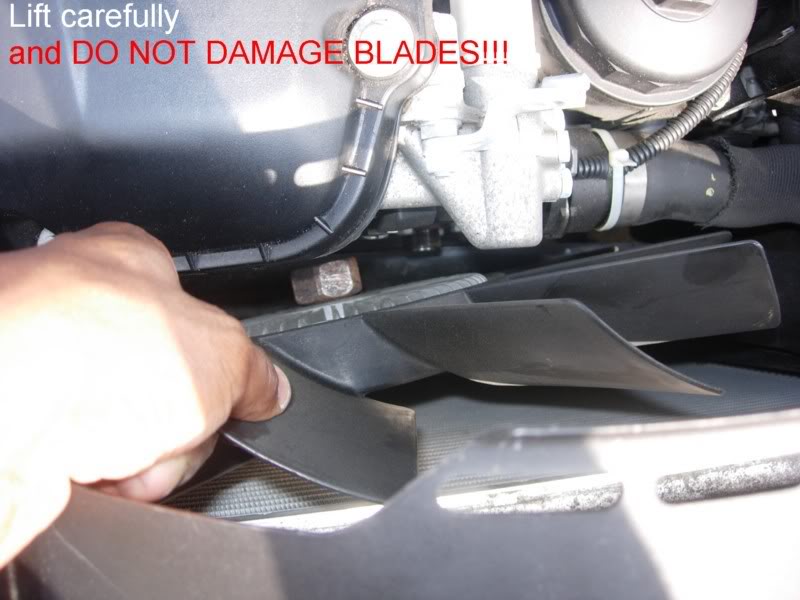
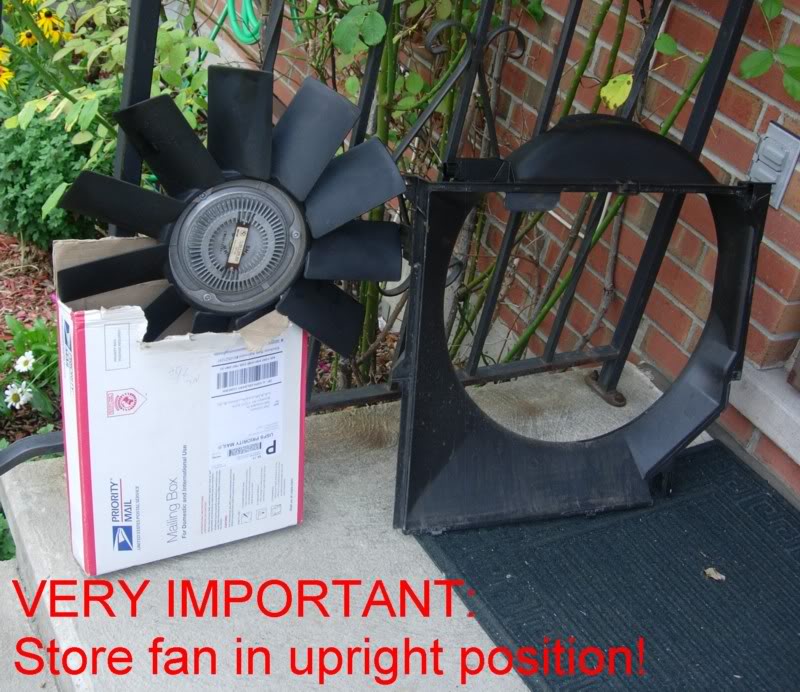
The worse that can happen is usually the fan blades either break off spontaneously and/or the fan comes off, thus exploding sending pieces of hard plastic everywhere. This is why you NEVER drop the fan, lay it flat or damage it if during the DIY you plan on using it again. Even if one blade gets chipped or scuffed then the fan can quickly lose equilibrium and wobble itself to bits destroying your
engine block and hood.
This is also why it is best to first start the engine with the hood up and everyone clear of the engine bay, and your hand on the key in case you have to cut the engine off pronto. I think the rule of

is if your fan doesnΆt explode right away you should be good.
That is it! DIY completed! Now itΆs time to think about that inevitable WATER PUMP failure prevention upgrade and Thermostat Housing upgrade DIY.
Enjoy,
Delmarco.

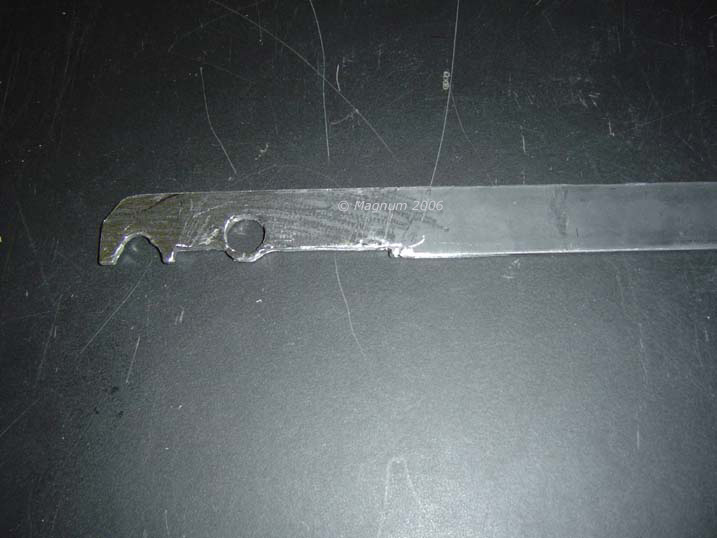
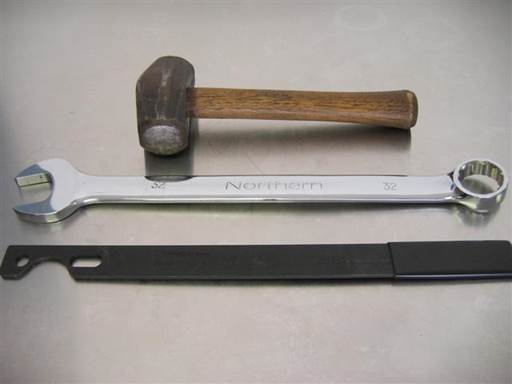
Για να καταλάβεις ότι ούτε τα εργαλεία που έπρεπε να χρησιμοποιούν δεν χρησιμοποιούσαν εκει πέρα...Πάω να φέρω τη βαριά να χτυπήσω λίγο το fan





 Απάντηση με παράθεση


 . I show you how to double check what you did and safely put everything back in there.




 is if your fan doesnΆt explode right away you should be good.

